Leave Your Message
Choosing an Aluminum High Brightness Anodized Profile involves more than selecting a shiny sample. The finish must suit the product’s purpose, surrounding light, and expected daily use. A profile that looks brilliant under showroom spotlights may appear muted beside a window. That difference matters.
This guide explores the details buyers should check before placing an order. We’ll look at alloy and profile shape, surface preparation, anodizing consistency, color options, and practical quality checks. Ask suppliers for clear specifications and samples viewed under lighting similar to the final installation. If possible, inspect several pieces, not just one. Small variations can become noticeable across a long run of trim or framing.
Brightness also needs a careful definition. A reflective finish is not automatically more durable, and visual appearance alone cannot confirm coating quality. Request information about the anodizing process, thickness, inspection methods, and care requirements. Compare those details with the intended environment and cleaning routine. Some suppliers may describe finishes differently, so clarify what “high brightness” means in measurable or visual terms. It can be an imprecise label.
There is no universal profile for every project. A finish that suits a display fixture may feel too reflective in a bright office. The right choice balances appearance, fit, performance, and budget. Even experienced buyers can miss a detail. Recheck the sample before approving production.
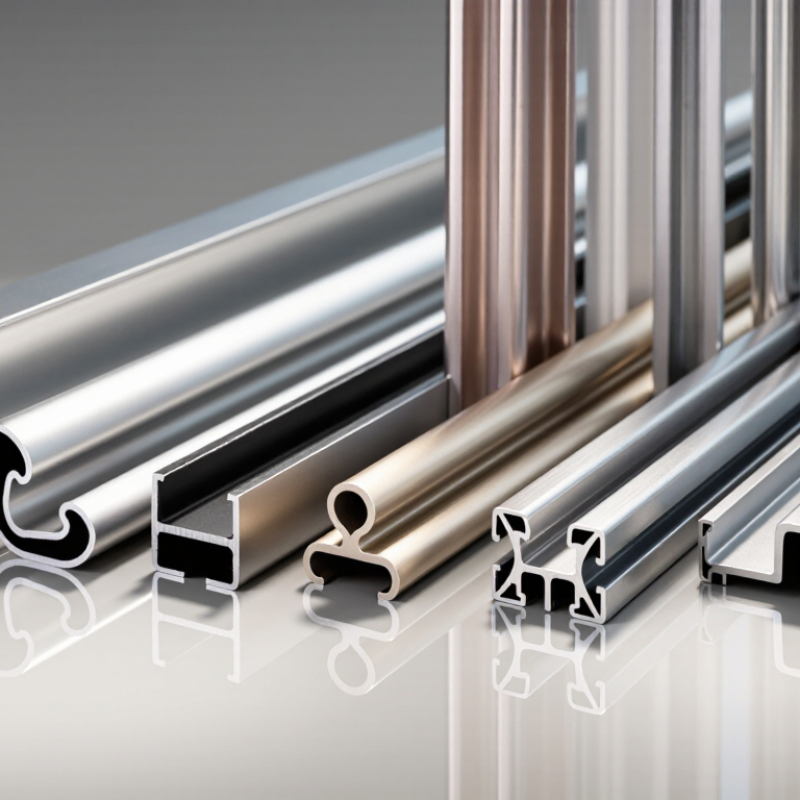
Choosing a high-brightness anodized profile starts with defining what “bright” means in its final setting. A mirror-like reflection, a clean satin sheen, and a pale metallic tone are different targets. Ask suppliers for gloss readings at a stated angle, using ASTM D523, and compare samples under the lighting used on site. Light matters. A polished sample can look vivid in a showroom but appear flat under diffuse office lighting. Specify color, gloss range, viewing distance, and acceptable variation before approving production.
Finish must also suit the exposure. QUALANOD’s Specifications for the Anodizing of Aluminium classify coatings by thickness; Class 15, for example, requires a minimum average coating thickness of 15 micrometres. That figure is a useful starting point, not a universal durability guarantee. Coastal air, frequent cleaning, and outdoor sun can change the suitable finish and maintenance needs. State these conditions clearly, then request a representative sample and test it with the intended cleaning method.
Check the application details closely. A profile beside glass may need consistent appearance across visible faces, while a machined edge can reflect light differently from the main surface. Ask how corners, cut ends, and batch-to-batch color variation are controlled. Test the real part. I would not approve a finish from a small flat swatch alone; it can hide reflections and handling marks. Include installation orientation and viewing distance in the review, even if those details seem minor.
| Selection Factor | What to Define | Practical Guidance | Typical Application | How to Verify |
|---|---|---|---|---|
| Brightness target | Specify the required gloss level and measurement geometry. | As an initial screening guide, low gloss is often below 30 GU, medium gloss about 30–70 GU, and high gloss above 70 GU when measured at 60°. These bands are indicative, not universal product limits. | High-gloss decorative trims, display frames, and visible architectural details. | Measure with a calibrated gloss meter using the agreed geometry, such as 60°. Compare samples under consistent lighting because gloss readings do not fully describe perceived brightness. |
| Alloy and profile surface | Confirm alloy, temper, extrusion quality, and the condition of the surface before finishing. | Alloy composition, extrusion lines, handling marks, and surface defects can affect appearance. A smoother, well-controlled starting surface generally supports a more uniform bright finish. | Profiles with broad, exposed faces where visual consistency is important. | Review the specified alloy and inspect representative extrusions before anodizing. Approve a finished sample made from the intended production material. |
| Surface preparation | Choose mechanical or chemical preparation to achieve the desired appearance. | Mechanical polishing can create a smooth, reflective surface. Chemical brightening may increase reflectivity on suitable alloys. Brushing and matte etching create more diffuse appearances and reduce specular gloss. | Polished surfaces for decorative components; brushed or satin surfaces where a softer appearance is preferred. | Specify the preparation method and direction of any grain. Assess a full-size sample for reflectivity, texture, and visible process marks. |
| Anodized finish | Define the anodizing process, color, sealing, and any applicable coating requirements. | Clear anodizing usually preserves a metallic appearance; electrolytic or organic coloring can change the color and perceived brightness. Sealing improves resistance to staining and corrosion but should be included in appearance trials. | Interior or exterior profiles requiring a metallic finish with improved surface durability. | Approve a sample after the complete process, including coloring and sealing. State the applicable project specification or standard in the purchase requirements. |
| Coating thickness and durability | Set a coating thickness suitable for the environment and applicable specification. | Required thickness depends on exposure, service life, and the governing standard. A thicker anodic coating does not by itself guarantee a brighter appearance; surface preparation and process control also matter. | Building components, equipment housings, and other parts exposed to regular handling or weather. | Agree on the measurement method, sampling plan, and acceptance limits. Check coating thickness on representative parts and verify sealing when required by the specification. |
| Application environment | Identify indoor or outdoor use, humidity, pollutants, salt exposure, cleaning chemicals, and temperature. | Coastal, industrial, and frequently cleaned environments may require more stringent durability and maintenance requirements than dry indoor settings. Confirm chemical compatibility before selecting a cleaning routine. | Outdoor façades, marine-adjacent installations, kitchens, transport, and indoor decorative applications. | Provide the finisher with the actual service conditions. Where exposure is severe, specify suitable testing and maintenance guidance for the project. |
| Color and batch consistency | Set acceptable color variation and define how parts will be grouped and viewed. | Appearance can vary with alloy, profile geometry, surface preparation, process settings, and viewing angle. Parts intended to appear together should be evaluated as a matched set. | Continuous runs of trim, cladding, frames, and coordinated interior components. | Approve a control sample and agree on viewing conditions, sample size, and color-comparison method before production. |
| Profile geometry and handling | Review section shape, visible faces, rack contact locations, and packaging needs. | Complex shapes and rack contact points can create local appearance differences. Protect finished surfaces during transport and installation to avoid scratches and contact marks. | Long extrusions, multi-face profiles, and components with prominent visible edges. | Review a production-representative part for coverage and contact marks. Specify acceptable rack locations and protective packaging. |
| Final sample approval | Confirm brightness, color, texture, and durability expectations in writing. | A sample produced with the intended alloy, preparation, anodizing, coloring, and sealing is more reliable than a generic reference sample. | Any project where appearance is a key acceptance requirement. | Record the approved sample, gloss measurement geometry, visual inspection conditions, and agreed acceptance criteria. |
Note: Gloss-unit ranges are general selection guidance only. Set final limits with the supplier using the specified measurement geometry, alloy, surface preparation, and a production-representative sample.